


前置き
Macのコンソールからvagrantコマンド全般実行すると「vagrantを開くとコンピュータが破壊します。」ポップアップが表示され、vagrantを実行できなくなりました。
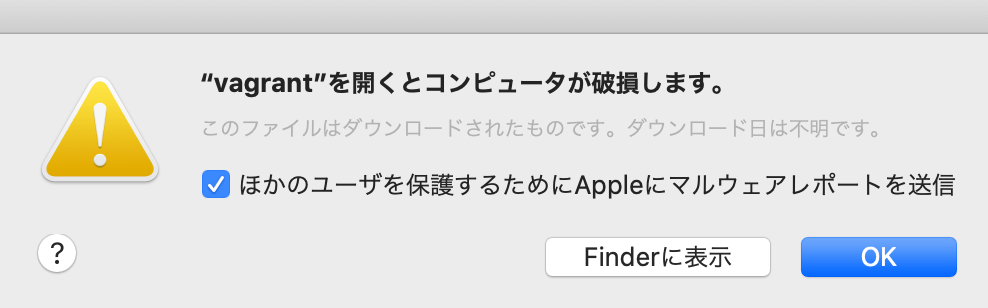
何かをアップデートしたなどの心あたりは全くなし。。いきなりこんなことになると本当に困りますよね。
解決方法をどこのサイトより丁寧に残しておきます。
解決策
Vagrantをアップデート
結論、
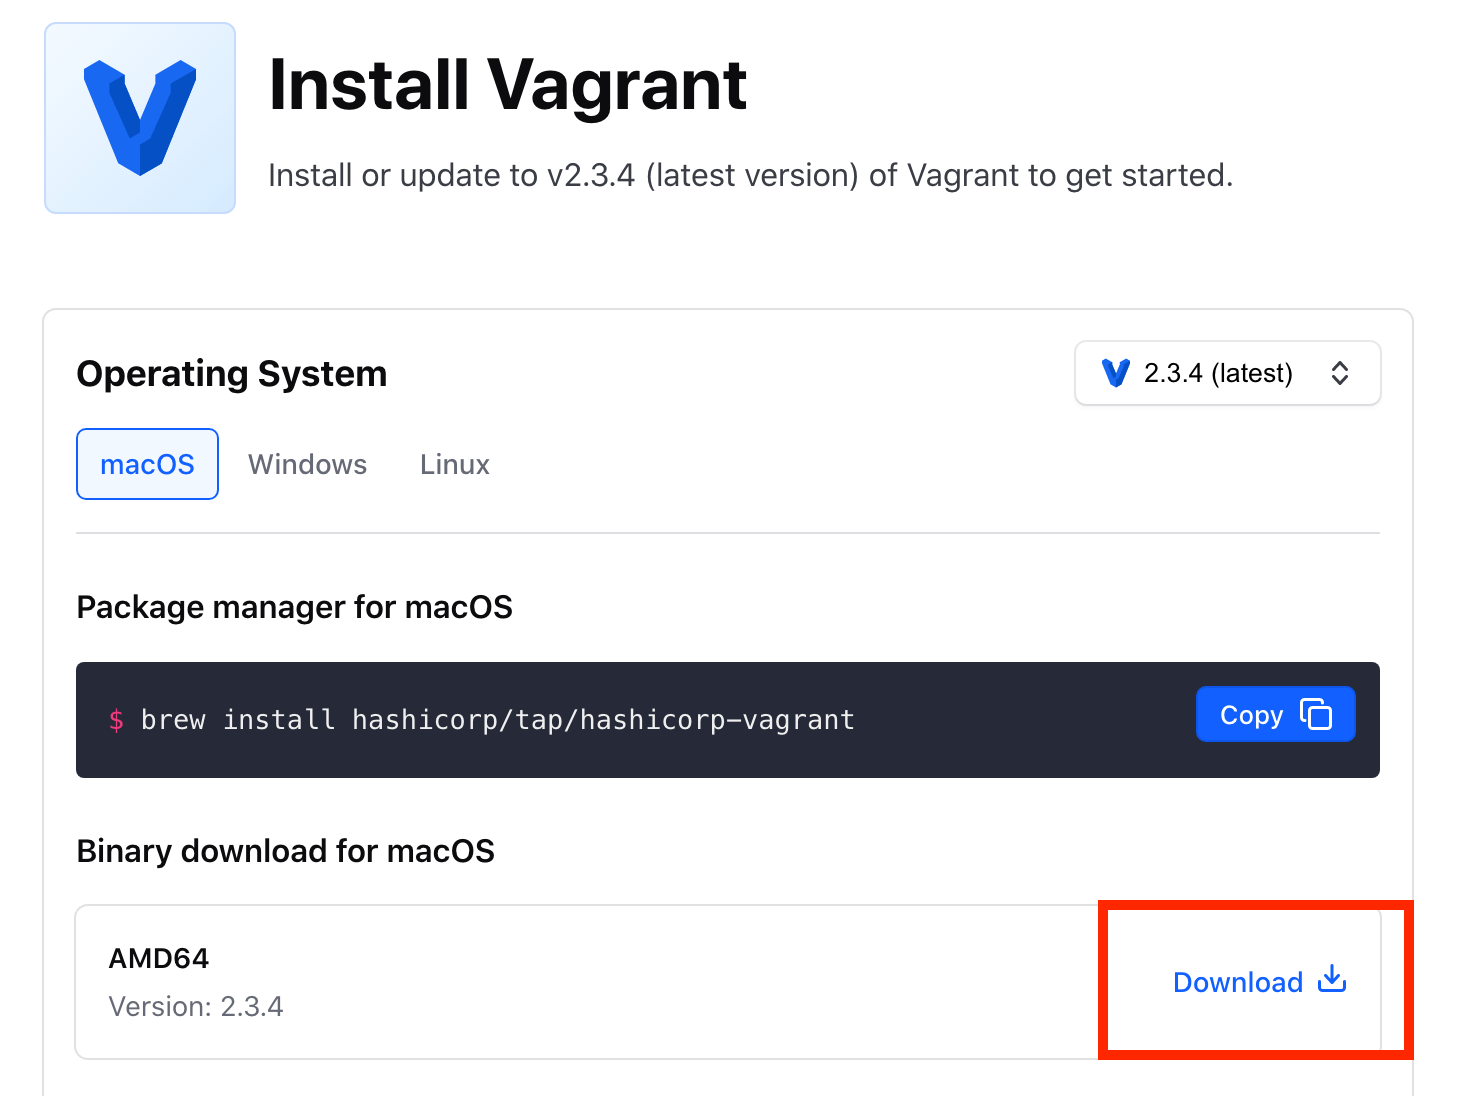
公式で配布されてる最新のVagrantをインストールすることで解決。

上記公式からOSに合ったものをダウンロードします。
私はMacなのでMacの操作で進めていきます。
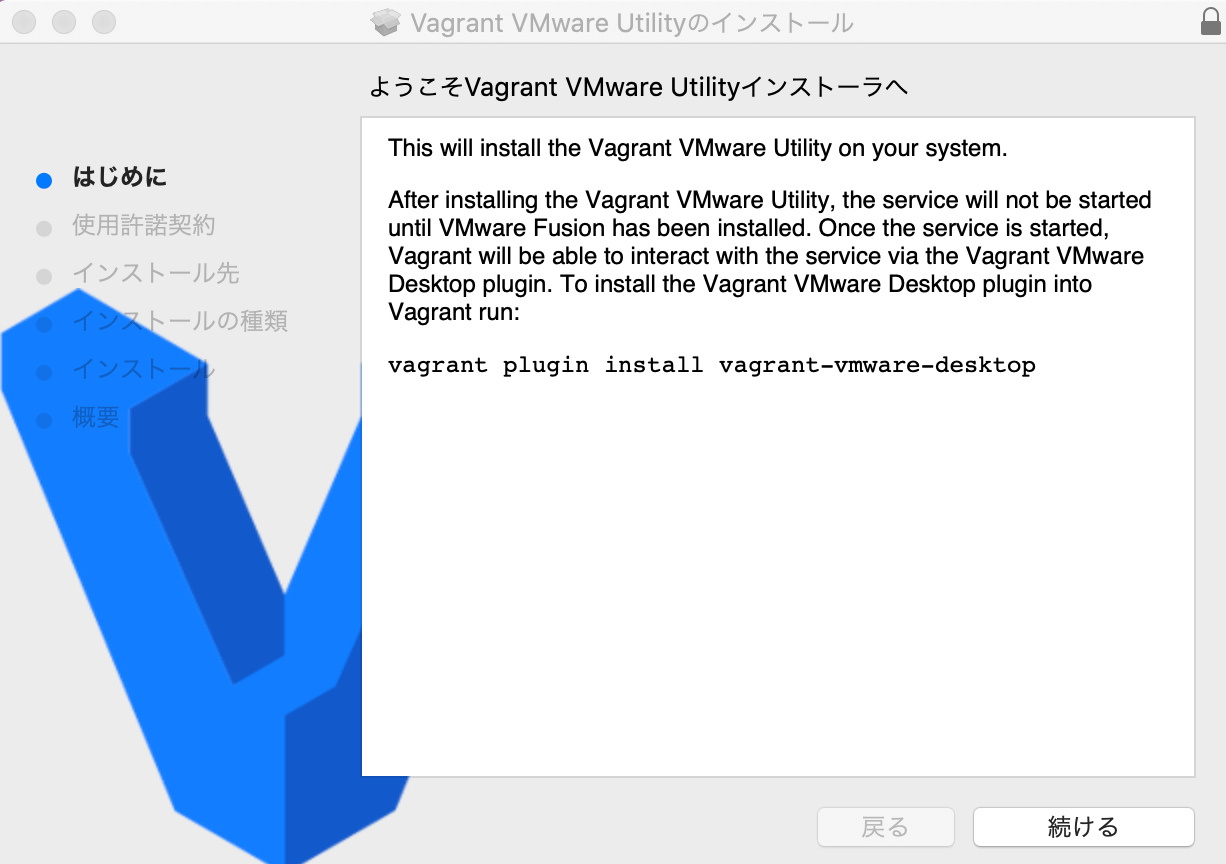
「vagrant-vmware-utility_1.0.21_x86_64.dmg」ファイルがダウンロードされます。
実行すると以下画面が表示されます。

「uninstall.tool」は実行できませんでした。
なので、pkgを実行しました。
実行すると以下ポップアップが表示されるので選択肢を進めてインストールを実行します。
インストールが完了後、vagrantコマンドを実行してみましょう。
いつも通り実行できれば成功です。
解決しない場合のトラブルシューティング
巷に出てる情報だとこれで解決!みたいなことを書いてあるのですが、私は引き続き「vagrantを開くとコンピュータが破壊します。」ポップアップが表示されてしまいました。
そこで一旦、現在入っているVagrantをアンイストールしてから再度インストールし直すことでvagrantを実行できるようになりました。
dmgファイルから「uninstall.tool」は利用できなかったので、以下コマンドでVagrant関連ファイルをコンソールから手動で消去しました。
$ sudo rm -rf /opt/vagrant
$ sudo rm -f /usr/local/bin/vagrant
上記を実行後、再度「vagrant-vmware-utility_1.0.21_x86_64.dmg」からpkgを実行して再インストールすることでvagrantコマンドを実行できるようになりました。
Vagrantを実行できるようになった後に待ち受ける試練
プラグインのバージョン互換性の解決
バージョンアップした際の弊害が待ってました。
こちらの解決策もメモしておきますので必要に応じて参考になれば幸いです。
まず、やったこととして「vagrant up」
$ vagrant up
Vagrant failed to initialize at a very early stage:

The plugins failed to initialize correctly. This may be due to manual
modifications made within the Vagrant home directory. Vagrant can
attempt to automatically correct this issue by running:

  vagrant plugin repair

If Vagrant was recently updated, this error may be due to incompatible
versions of dependencies. To fix this problem please remove and re-install
all plugins. Vagrant can attempt to do this automatically by running:

  vagrant plugin expunge --reinstall

Or you may want to try updating the installed plugins to their latest
versions:

  vagrant plugin update

Error message given during initialization: Unable to resolve dependency: user requested 'vagrant-vbguest (= 0.29.0)'
ユーザ名@ユーザ名MacBook-Pro-2 vagrant % vagrant plugin repair
Repairing currently installed global plugins. This may take a few minutes...
Fetching micromachine-3.0.0.gem
Fetching vagrant-vbguest-0.31.0.gem
Failed to automatically repair installed Vagrant plugins. To fix this
problem remove all user installed plugins and reinstall. Vagrant can
do this for you automatically by running the following command:

  vagrant plugin expunge --reinstall

Failure message received during repair:

Unable to resolve dependency: user requested 'vagrant-vbguest (= 0.29.0)'
失敗します。
Failed to automatically repair installed Vagrant pluginsどうやらプラグインのバージョンが噛み合ってないようです。
そこで以下コマンドを実行します。
$ vagrant plugin expunge --reinstallプラグインのインストールが始まります。
※「Continue? [N]: 」で止まったら”yes”と打ち込みめばインストールが進みます。
$ vagrant plugin expunge --reinstall

This command permanently deletes all currently installed user plugins. It
should only be used when a repair command is unable to properly fix the
system.

Continue? [N]: yes

All user installed plugins have been removed from this Vagrant environment!

Vagrant will now attempt to reinstall user plugins that were removed.
Installing the 'vagrant-vbguest' plugin. This can take a few minutes...
Fetching micromachine-3.0.0.gem
Fetching vagrant-vbguest-0.31.0.gem
Installed the plugin 'vagrant-vbguest (0.31.0)'!
ユーザ名@ユーザ名MacBook-Pro-2 vagrant % vagrant up
Bringing machine 'xxxxxxx' up with 'virtualbox' provider...
==> xxxxxxx: Clearing any previously set forwarded ports...
==> xxxxxxx: Clearing any previously set network interfaces...
==> xxxxxxx: Preparing network interfaces based on configuration...
    xxxxxxx: Adapter 1: nat
    xxxxxxx: Adapter 2: hostonly
==> xxxxxxx: Forwarding ports...
    xxxxxxx: 80 (guest) => 9992 (host) (adapter 1)
    xxxxxxx: 22 (guest) => 2222 (host) (adapter 1)
==> xxxxxxx: Running 'pre-boot' VM customizations...
==> xxxxxxx: Booting VM...
==> xxxxxxx: Waiting for machine to boot. This may take a few minutes...
    xxxxxxx: SSH address: 127.0.0.1:2222
    xxxxxxx: SSH username: vagrant
    xxxxxxx: SSH auth method: private key
==> xxxxxxx: Machine booted and ready!
[xxxxxxx] GuestAdditions 6.1.18 running --- OK.
==> xxxxxxx: Checking for guest additions in VM...
==> xxxxxxx: Configuring and enabling network interfaces...
==> xxxxxxx: Mounting shared folders...
    xxxxxxx: /vagrant => /Users/ユーザ名/vagrantまでのPATH/vagrantフォルダ
    xxxxxxx: /var/www/html/docroot_master => /Users/ユーザ名/プロジェクトフォルダまでのPATH/プロジェクトフォルダ
==> xxxxxxx: Machine already provisioned. Run `vagrant provision` or use the `--provision`
==> xxxxxxx: flag to force provisioning. Provisioners marked to run always will still run.
これで互換性あるバージョンのプラグインにアップデートされます。改めてvarantコマンドを実行してみましょう。
私はこれで無事、復旧できました!